Mastering a foreign metro isn’t about memorizing rules; it’s about decoding the system’s hidden “design language” to navigate with the confidence of a local.
- Understand fare zones as a logical system, not a random set of prices, to eliminate fines.
- Use platform signs and your train car position as strategic tools to select the perfect exit before you even arrive.
- Recognize that schematic metro maps are a “lie” that simplifies geography, which is why relying solely on GPS underground fails.
Recommendation: Stop being a passive passenger. Start thinking like a transit mapper to make the urban network work for you, not against you.
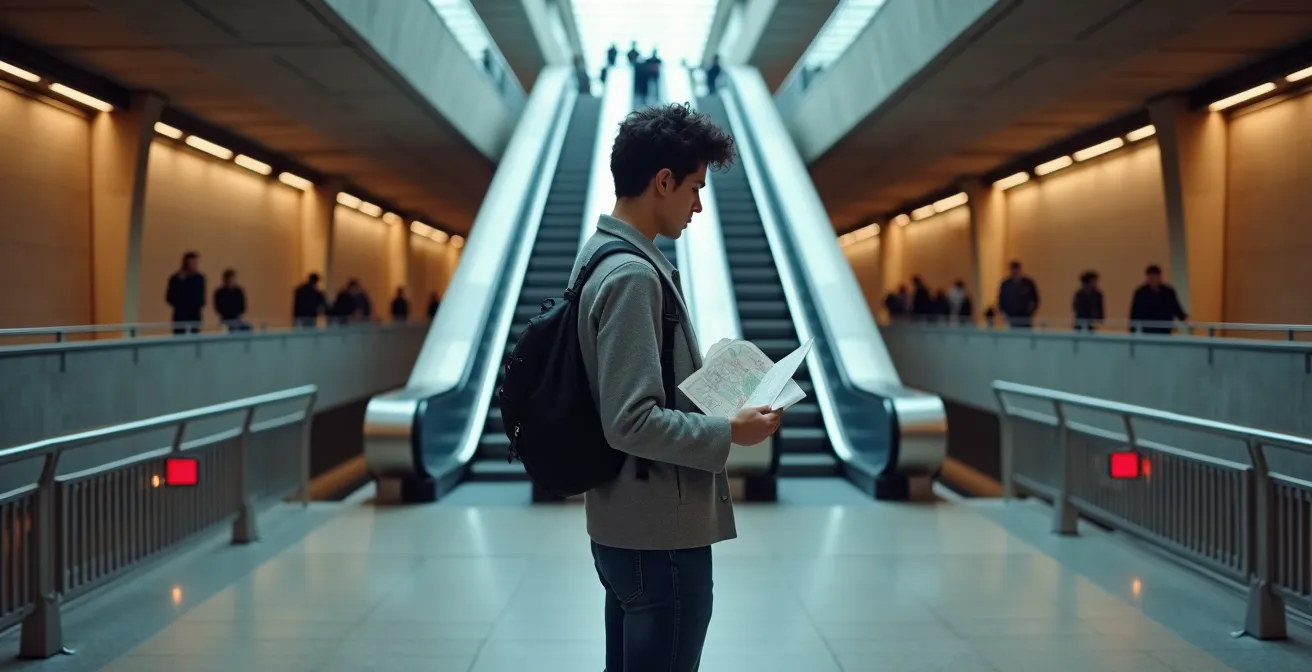
The doors slide open, and a wave of unfamiliar sounds, signs, and a spaghetti-like map hits you all at once. You’re underground in a new city, and the metro system feels less like a convenience and more like an impossible test. Every urban traveler knows this moment of paralysis: the fear of getting on the wrong train, paying for the wrong ticket, or emerging from a station miles from their actual destination. It’s a feeling that can turn the adventure of public transit into a stressful ordeal.
Conventional wisdom offers a familiar chorus of advice: “be aware of your surroundings,” “buy a day pass,” and “avoid rush hour.” While not wrong, these tips treat you like a potential victim, always reacting to the system’s dangers and complexities. They teach you how to avoid trouble, but they don’t teach you how to achieve true mastery and move with the fluid confidence of a resident. The focus is on the *what*, not the *why*.
But what if the key wasn’t just avoiding mistakes, but understanding the very logic of the system itself? The secret to mastering any metro is learning to read its unique “design language.” Every network, from Tokyo to Paris, communicates its rules through the layout of its stations, the structure of its fares, and the design of its maps. By learning to decode these signals, you shift from being a confused tourist to a savvy navigator who can predict the system’s behavior.
This guide is designed to teach you that language. We’ll move beyond the generic safety warnings and into the core mechanics of urban transit. We will deconstruct fare zones, optimize exit strategies, and reveal why your phone’s GPS is bound to fail you. Prepare to transform the underground from a source of anxiety into your most powerful tool for urban exploration.
This article provides a complete framework for understanding and mastering any foreign metro system. Below is a summary of the key strategies we will cover to help you navigate with confidence and efficiency.
Summary: Mastering the Underground Labyrinth of Global Cities
- Is the Metro Safe at Night? How to Judge a Station’s Vibe?
- How to Understand Complicated Fare Zones to Avoid Fines?
- Day Pass or Contactless Card: Which Caps Your Spending Lower?
- The Rush Hour Mistake: When NOT to Enter the Metro with Luggage?
- How to Find the Right Exit to Save 10 Minutes of Walking?
- The Hidden “Seat Reservation” Fee That Adds $200 to Your Rail Pass
- Why Google Maps Offline Fails You When You Need It Most?
- How to Plan the Perfect 48-Hour City Break Without Burnout?
Is the Metro Safe at Night? How to Judge a Station’s Vibe?
The question of nighttime metro safety is more nuanced than a simple yes or no. While most major city metros are safe, a traveler’s confidence often comes down to their ability to interpret their surroundings. Instead of relying on generalized fear, a street-wise traveler learns to assess a station’s “vibe” by reading its design and the behavior of the people within it. Well-maintained systems are actively working to improve safety, with some cities seeing remarkable results. For instance, the Washington, D.C. Metro reported a 40% decline in its crime rate in early 2024, showing that focused efforts on visibility and presence make a real difference.
Your best tool is active observation. A station’s “design language” speaks volumes. Bright, even lighting in corridors and on platforms suggests a well-maintained and monitored space. The presence of staff, whether in booths or walking around, is another strong positive signal. Most importantly, watch the locals. Are they relaxed, scrolling on their phones, and chatting casually? This is a sign of normalcy and ambient safety. If, however, you notice people are tense, holding their bags tightly, and avoiding eye contact, it’s a cue to heighten your own awareness.
Positioning yourself strategically is another proactive measure. On the platform, standing near an emergency intercom, a staffed booth, or in a well-lit area is always a good choice. Once on the train, the car closest to the operator’s cabin often feels more secure. This isn’t about paranoia; it’s about making conscious, small decisions that maximize your comfort and security, allowing you to use the metro at any hour with confidence.
Your 5-Point Safety Assessment for Night Travel
- Check station lighting: Scan for bright, consistent light on platforms and in connecting corridors. Well-lit areas indicate modern maintenance and deter unwanted activity.
- Observe local behavior: Notice the posture of other riders. Relaxed locals engrossed in their phones are a strong signal of safety; widespread tension and guarded body language suggest a need for more caution.
- Position yourself strategically: Identify and stand near key safety infrastructure, such as the train operator’s car, emergency intercoms, or CCTV cameras.
- Identify staffed areas: Look for glass booths with transit agents, visible security personnel, or help points. Their presence is a powerful deterrent.
- Know your exit strategy: Before you feel uncomfortable, take a mental note of the next station’s name. Having a pre-planned exit point gives you immediate control if the vibe changes.
Ultimately, judging a station’s vibe is about trusting your instincts, which are informed by these observable details. It’s a skill that turns you from a nervous tourist into an informed urban navigator.
How to Understand Complicated Fare Zones to Avoid Fines?
Complicated fare zones are one of the biggest friction points for travelers, often leading to accidental fines and frustration. The key is to stop seeing them as arbitrary price traps and start understanding their logic. Most systems, especially in large European cities, are built on a concentric zone model, like rings spreading out from the city center. The farther you travel from the center, the more zones you cross, and the higher the fare. Airports are almost always in the outermost, most expensive zone, a fact that catches many tourists by surprise.

As one American teacher discovered while navigating Madrid’s sprawling 13-line system, using a dedicated transit app like Citymapper or Moovit can be a game-changer. These apps don’t just give you a route; they calculate the fare and show the zone boundaries, making the invisible system logic visible. This prevents the common mistake of buying a central-zone ticket and unknowingly traveling to an outer-zone destination. The system isn’t trying to trick you; it’s operating on a geographical logic that your tourist map might not make obvious.
Many cities have specific “tourist traps” where zone rules are frequently misunderstood. A standard “t+” ticket in Paris is great for the city center, but it’s invalid for the journey to Charles de Gaulle Airport (CDG) in Zone 5. London’s system is more forgiving if you use a contactless card, as it automatically calculates the best fare and caps your daily spending, but using the wrong single ticket can still lead to a hefty fine. Understanding these specific rules before you travel is crucial.
The following table, based on an analysis of global transit systems, highlights common zone-related mistakes in major cities and how to prevent them.
| City | Common Tourist Trap Zone | Typical Fine Amount | Prevention Tip |
|---|---|---|---|
| Paris | Airport (Zone 5) | €35-50 | Buy specific airport ticket |
| London | Heathrow (Zone 6) | £40-80 | Use contactless for auto-capping |
| Madrid | Airport supplement | €3 extra | Add airport supplement to regular ticket |
Before you even approach a ticket machine, a quick search for your destination city’s “metro zone map” will reveal this structure. By understanding the system’s logic, you’re no longer guessing—you’re making an informed decision and saving yourself from a fine that could ruin your day.
Day Pass or Contactless Card: Which Caps Your Spending Lower?
The choice between a day pass and a pay-as-you-go method like a contactless card is a classic traveler’s dilemma. The answer isn’t universal; it depends on the “cost logic” of the specific city’s transit system and your travel patterns. A day pass offers psychological comfort—unlimited rides for a fixed price—but it’s often more expensive unless you are a true power user. For a system as efficient as Seoul’s, which handles approximately 3.4 billion riders at an average of just $1.01 per ride, a day pass might be overkill if you only plan two or three journeys.
The most important concept to understand is fare capping. Many modern systems, like London’s Oyster/contactless system, have a built-in daily cap. This means that once your single-fare journeys for the day add up to a certain amount (often the price of a day pass), the system stops charging you for any subsequent rides. This gives you the best of both worlds: you only pay for what you use, but you’re also protected from overspending. If a city offers fare capping on contactless payments, it is almost always the more economical choice over a pre-purchased day pass.
To make the right choice, you need a simple decision framework:
- Count your journeys: Realistically, how many separate metro trips will you take in a day? If the number is four or more, a day pass starts to look more attractive, especially in cities without fare capping.
- Check for capping: A quick search for “[City Name] metro contactless capping” will tell you if this feature exists. If it does, using your credit/debit card is usually the best bet.
- Factor in convenience: A pass or contactless payment allows you to skip the ticket machine queues, which has a real time value, especially during busy periods.
- Test it out: On your first day, try buying single tickets or using contactless. Tally up your spending at the end of the day. This real-world data will tell you definitively if a multi-day pass is worth it for the rest of your trip.
Don’t just automatically buy the “tourist pass.” By taking a moment to understand the pricing logic of the system you’re in, you can ensure your money is spent on experiences, not unnecessary transit fees.
The Rush Hour Mistake: When NOT to Enter the Metro with Luggage?
Every traveler with a suitcase has felt the dread: the train doors open to reveal a wall of people, and there’s simply no space for you and your luggage. Trying to navigate a packed metro during peak rush hour (typically 7:30-9:00 AM and 5:00-6:30 PM) is not just a courtesy issue—it’s a logistical nightmare that can cause delays, stress, and put you in an uncomfortable position. The smartest move is not to power through it, but to avoid it entirely by using “shoulder hours.”

In notoriously crowded systems like Tokyo’s, local commuters and savvy travelers have mastered this. The Tozai line, for example, can see over 76,000 passengers in a single peak hour. The solution is to travel during the shoulder hours—just before or just after the main rush, such as 6:30-7:00 AM or after 9:30 AM. During these times, trains are still frequent, but the passenger density is manageable, allowing you to find a corner for yourself and your luggage without becoming a human roadblock. In Japan, many have even embraced luggage forwarding services (takkyubin) to send their bags directly to their hotel for a modest fee, bypassing the problem entirely.
If you must travel with luggage during busier times, a strategic approach can make all the difference:
- Use airport lines: Many airport express trains have dedicated luggage racks. They might cost more, but the space and peace of mind are often worth it.
- Position yourself wisely: On the platform, wait at the less crowded ends. Once on board, find a corner spot or the area designated for wheelchairs/strollers, ensuring you’re not blocking the doors.
- Travel against the flow: If you’re heading out from the city center in the morning, or into it in the evening, your train will likely be much less crowded than those going in the opposite direction.
Ultimately, treating the metro’s timetable with the same respect as your flight schedule is the mark of a pro traveler. A little planning around rush hour transforms a potentially stressful journey into a smooth and civilized experience.
How to Find the Right Exit to Save 10 Minutes of Walking?
Your metro journey isn’t over when you step off the train; it’s over when you surface onto the correct street. Large, multi-exit stations can be labyrinths, and choosing the wrong exit can easily add 10-15 minutes of disoriented walking on the surface. Mastering the art of the exit is a next-level skill that separates the casual tourist from the efficient navigator. The secret lies in planning your exit before you even arrive at your destination station.
The “design language” of a well-planned station provides all the clues you need. As your train pulls in, look at the signs on the platform wall. They don’t just name the station; they often list major landmarks, street names, or connecting bus lines associated with specific exits. A study of Helsinki’s highly-rated metro noted that this clear exit mapping, combined with strategic positioning, saves commuters an average of 8-10 minutes of walking per journey. The information is right there—you just have to learn to look for it.
The most advanced technique is to use this information to position yourself on the train itself. Here’s how to build your exit strategy while you’re still moving:
- Use in-car maps: Many trains have a line diagram that shows the layout of upcoming stations. Some even indicate where the exits are relative to the platform.
- Identify your exit before you board: When you start your journey, check the map. Note which end of the destination platform your desired exit is on (e.g., “front of train” or “rear of train”).
- Board the right car: Board the train car that will align with your exit. If your exit is at the front of the station, get in one of the first few cars. This simple step means you’ll be perfectly positioned to head straight for the exit, while everyone else is still walking the length of the platform.
- Look for landmarks: Signs often use landmark icons (a museum, a stadium, a park) instead of just street names. These are often easier to spot and remember than an unfamiliar street name.
By thinking about your destination in three dimensions—not just which station, but which exit—you turn the metro from a simple transport line into a precision tool for arriving exactly where you want to be.
The Hidden “Seat Reservation” Fee That Adds $200 to Your Rail Pass
While not strictly a metro issue, many urban travelers use rail passes like Eurail for city-to-city travel, and they often fall victim to a significant hidden cost: mandatory seat reservations. Travelers assume their expensive pass grants them walk-on access to any train, but for the most desirable routes—high-speed, overnight, and international trains—this is rarely the case. The pass only covers the “right to travel”; it does not cover the right to a specific seat.
These reservation fees can range from a modest €10 to over €50 for a single journey on a premium night train. For a traveler planning several high-speed trips across Europe, these “hidden” fees can easily add up to hundreds of dollars, sometimes negating the value of the pass itself. Furthermore, many of these popular trains have a limited passholder quota, meaning only a small number of seats are allocated for pass users. Once they’re gone, you can’t board the train, even if it’s half-empty with regularly-priced tickets available.
The key is to understand the different types of trains and their associated rules before you commit to a pass. A detailed breakdown of European train types clarifies this complex system.
| Train Type | Reservation Required | Typical Fee | Passholder Quota |
|---|---|---|---|
| High-Speed (TGV, Frecciarossa) | Mandatory | €10-35 | Limited seats |
| Regional Trains | Not required | Free | Unlimited |
| Night Trains | Mandatory | €15-50+ | Very limited |
| Intercity | Sometimes | €3-10 | Varies |
To avoid a budget blowout, a strategic approach is essential. Book your mandatory reservations as far in advance as possible (2-3 months is ideal) to secure a spot and get the lowest fee. Use rail planner apps that allow you to filter for “reservation-free” routes. This might mean taking a slightly slower regional train, but it will be completely covered by your pass. For a trip with one or two critical high-speed legs, it can even be cheaper to buy those tickets point-to-point and use the pass for more flexible, slower journeys.
A rail pass can be a fantastic tool for freedom and flexibility, but only if you understand its limitations. By treating reservations as a mandatory planning step, you can harness the full power of the pass without any costly surprises.
Why Google Maps Offline Fails You When You Need It Most?
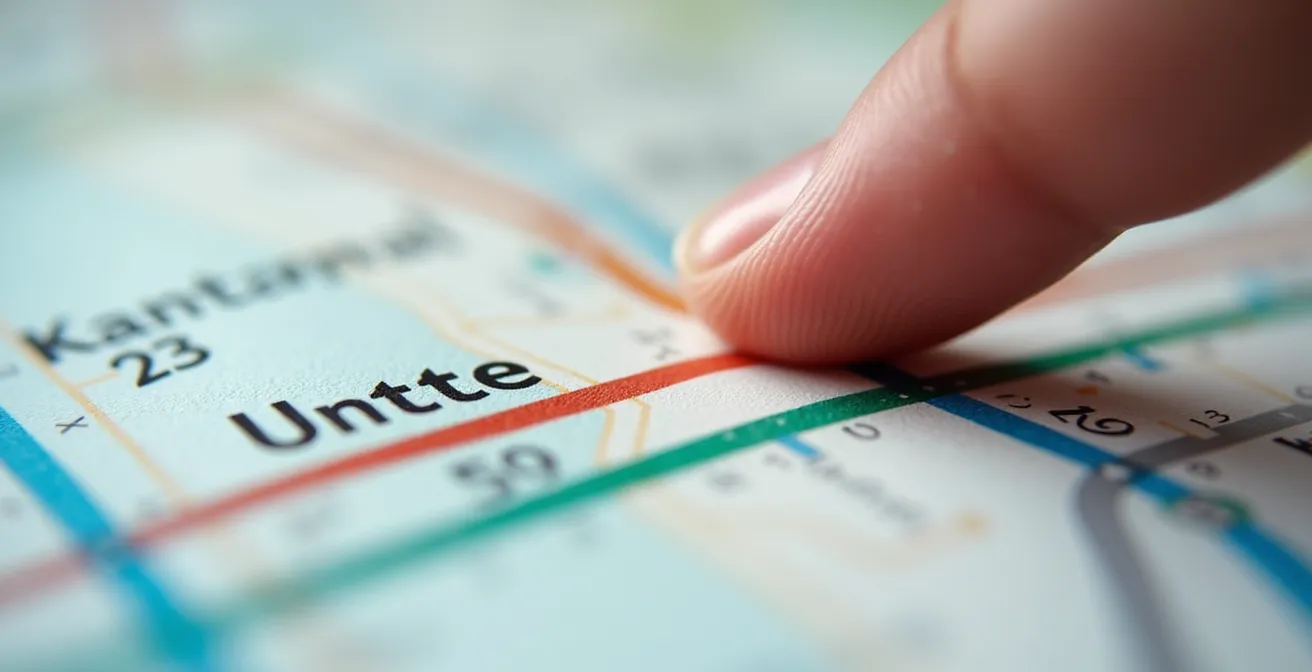
Losing your GPS signal the moment you descend into a metro station is a universal modern frustration. Many travelers diligently download offline maps, assuming they’re covered, only to find them unresponsive or inaccurate when they need them most. The reason for this failure is fundamental: GPS needs a line of sight to satellites, which is impossible underground. But the problem runs deeper—it lies in the very nature of the metro map itself.
The colorful, clean-lined map in the station and on your app is a schematic map, not a geographic one. Its primary job is to show the order of stations and connection points in a clear, easy-to-read format. To achieve this clarity, it intentionally distorts geography, straightening curved tunnels, equalizing distances between stations, and simplifying complex junctions. As a detailed analysis using OpenStreetMap data reveals, this stylization is extreme in cities like London and Paris. Your phone’s GPS, trying to place you on a real-world map, gets hopelessly confused when the visual “truth” of the schematic map doesn’t match the physical reality of your location.
This is why relying on a single, digital tool is a rookie mistake. The street-wise traveler builds a resilient, low-tech backup system that works flawlessly without a single bar of signal. This system is about having the right information, not the fanciest app.
- Screenshot the official map: Before you go underground, find the official metro map online and take a high-resolution screenshot. This is your primary navigation tool.
- Write it down: On a piece of paper or in your phone’s notes app, write down your starting station, your destination station, and any transfer points.
- Know your direction: The single most important piece of information is the name of the final station on your line (the terminus). Signs on the platform will always indicate the direction of travel by listing the terminus station.
- Grab a paper map: They are free at almost any station kiosk. It’s the ultimate no-fail backup.
By understanding that the metro map is a brilliant, functional lie, you can break your dependence on a GPS signal that is guaranteed to abandon you. Your brain, armed with a screenshot and the name of the terminus station, becomes the most powerful navigation tool you have.
Key Takeaways
- Metro safety is less about avoiding danger and more about reading environmental cues like lighting and local behavior to assess a station’s vibe.
- Fare zones and passes follow a “system logic”; understanding concepts like concentric zones and daily capping is cheaper than memorizing prices.
- Your journey isn’t over until you’ve exited; plan your exit from the platform using in-car maps and signs to save significant walking time on the surface.
How to Plan the Perfect 48-Hour City Break Without Burnout?
The perfect 48-hour city break is an exercise in strategic efficiency, and a city’s metro system is the key to unlocking it without succumbing to exhaustion. The goal is not to see everything, but to see the right things with minimal friction. This means abandoning a geographically scattered checklist of sights and instead designing your itinerary around the logic of the metro lines themselves. A well-designed, user-friendly metro system makes this effortless, turning the city into a series of easily-digestible clusters.
The core strategy is activity clustering. Instead of zig-zagging across town, dedicate each day, or half-day, to attractions located along a single metro line or at a major interchange. This minimizes your travel time and maximizes your experience time. For example, on Day 1, you might explore all the sights along Line 1. On Day 2, you tackle a different line that covers another neighborhood. This approach turns the metro map into your personal itinerary planner.
A smart 48-hour plan also incorporates the system’s temporal logic to avoid burnout:
- Day 1: Anchor your exploration. Focus your activities along one or two easily connected metro lines. Visit major, crowded sites during the off-peak windows of 10-11 AM or 2-4 PM.
- Build in buffer time. Add a 20-minute buffer between major destinations. This accounts for unexpected delays and allows for spontaneous discoveries without derailing your schedule.
- Day 2: Explore a new cluster. Choose a different set of connected lines to experience a new part of the city, ensuring variety.
- Plan your end-of-day journey. Always finish your day’s activities in a location that is on or easily connected to your accommodation’s metro line to ensure a simple trip back.
- Keep a “flex hour”: Leave one hour unscheduled each day. Use it to linger longer at a place you love, grab a coffee, or simply rest. This is your insurance against a rigidly over-packed schedule.
Stop being a passenger at the mercy of the map. Start thinking like a mapper. Grab that official transit map, identify the system’s logic, and turn the city’s veins into your personal arteries. The next journey is yours to design.