Finding truly empty viewpoints isn’t about luck or early alarms; it’s about adopting the systematic mindset of a professional location scout to see the landscape differently.
- Use digital reconnaissance tools like Google Earth to identify potential overlooks before you ever leave home.
- Prioritize the quality of light over simply avoiding people—a scout’s primary goal is the perfect shot, not just an empty one.
Recommendation: Shift your focus from following marked trails to reading topographical maps for their hidden potential, and always verify digital routes with local knowledge for safety.
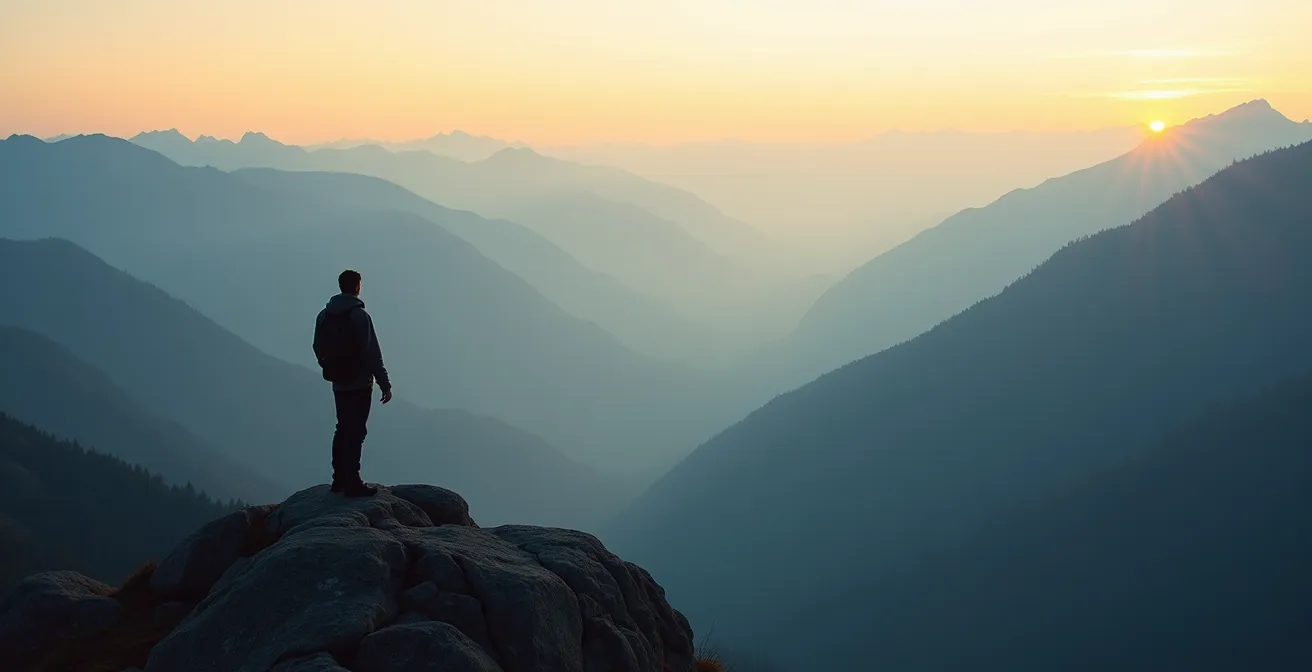
You’ve seen the photo online: a lone figure silhouetted against a jaw-dropping mountain panorama. You drive for hours, hike the trail, and arrive at the viewpoint only to find a parking lot choked with tour buses and a queue of people waiting to take the exact same selfie. The magic is gone, replaced by the low hum of chatter and the struggle to frame a shot without a stranger’s neon jacket in the corner. The common advice is always the same: go at sunrise, visit in the off-season, or hike five miles farther than anyone else.
But what if the real secret isn’t about endurance or inconvenient timing, but about vision? What if you could learn to read a landscape for its hidden potential, just as a professional film location scout does? It’s a discipline that blends artistry with methodical planning. A scout’s job is not to find popular spots, but to find the perfect spot—one that tells a story, captures a specific mood, and is often completely invisible to the average tourist. This isn’t about finding places no one has ever been; it’s about finding perspectives no one has ever considered.
This guide will not give you a list of “secret spots.” Instead, it will equip you with a scout’s methodology. We will delve into the art of visual reconnaissance, the non-negotiable safety protocols for exploring wild edges, and the techniques for predicting nature’s schedule. You will learn to stop looking for viewpoints and start seeing them everywhere.
To guide you through this process, we will explore the key strategies and considerations that transform a casual nature lover into a discerning scout. The following sections break down the essential skills, from understanding light and terrain to ensuring your safety and physical preparedness for the journey.
Contents: Finding Viewpoints Like a Pro
- Why You Should Never Visit a Viewpoint at Noon?
- How to Navigate Unmarked Trails to Hidden Overlooks?
- Drone or Camera: Which Captures the Scale of the Landscape Better?
- The Selfie Mistake at Edge Cliffs That Costs Lives Every Year
- How to Predict Cloud Cover Specifically for Mountain Views?
- How to Get the “Empty Pool” Photo Without Waking Up at 5 AM?
- GPS vs. Local Advice: Why Apps Send You Down Dangerous Roads?
- How to Prepare Your Body for High-Altitude Excursions safely?
Why You Should Never Visit a Viewpoint at Noon?
The conventional wisdom to visit attractions during the “lunch lull” between 12 PM and 2 PM is a trap for anyone serious about photography. While you might find slightly fewer people, you will also find the absolute worst light of the day. For a location scout, this is a creative dead zone. At noon, the sun is directly overhead, casting harsh, flat light that eliminates texture, depth, and dimension from the landscape. Mountains lose their dramatic ridges, canyons appear as flat washes of color, and the entire scene lacks the mood and character essential for a compelling shot.
A professional’s schedule is dictated by light mapping, not crowd avoidance. The goal is to be on location during the golden hours—the first hour after sunrise and the last hour before sunset. During these times, the low-angle sun rakes across the terrain, creating long, soft shadows that sculpt the landscape and reveal its true form. Colors become rich and warm, and the atmosphere itself becomes a tangible element in your composition. This is when the landscape tells its story.
Instead of thinking about when tour groups are eating, start thinking about the sun’s trajectory. Use apps like PhotoPills or The Photographer’s Ephemeris to plan exactly where the sun will be at any given time of day, any day of the year. This allows you to arrive at a viewpoint not just when it’s empty, but when it’s at its most beautiful. The solitude is often a welcome side effect of chasing perfect light, rather than the primary goal.
Ultimately, a scout knows that an average location in brilliant light is far superior to a spectacular location in poor light. Prioritizing the sun’s schedule over a tour bus schedule is the first major step toward thinking like a professional.
How to Navigate Unmarked Trails to Hidden Overlooks?
The most rewarding viewpoints are rarely marked with a sign. They are discovered through a process of diligent visual reconnaissance and developing your topographical literacy. This work begins long before you pack your gear, often at a computer screen. Instead of searching for “best viewpoints near X,” a scout learns to read the terrain itself for potential. The key is to use digital tools to explore the landscape virtually, identifying features that suggest a clear, unique perspective.
This is where your digital toolkit comes in. Here are the core instruments for off-map scouting:
- Google Earth (3D View): This is your primary tool. Don’t just look at the top-down satellite view. Use the 3D mode to “fly” through canyons, circle mountain peaks, and tilt your perspective. Look for rock outcroppings, clearings on ridgelines, or bends in a river that offer an unobstructed line of sight. You are looking for geography, not trails.
- AllTrails & Gaia GPS: While these apps feature official trails, their real value lies in user-submitted tracks and heatmaps. Look for “social trails” that branch off main routes. More importantly, look for areas with *no* heat—the cold spots where few people venture. These are your zones of interest.
- Government Land Maps (BLM, Forest Service): Popular National Parks are often bordered by Bureau of Land Management or National Forest lands. These areas have fewer restrictions and far fewer crowds. Use their official maps to find access roads and trailheads that lead toward the park’s periphery, often yielding views of the same famous peaks from a completely different and solitary angle.
To truly master this, you must learn to read the land’s contours. A topographic map shows you the shape of the terrain, its steepness, and the location of ridges and valleys. It is the language of the landscape.
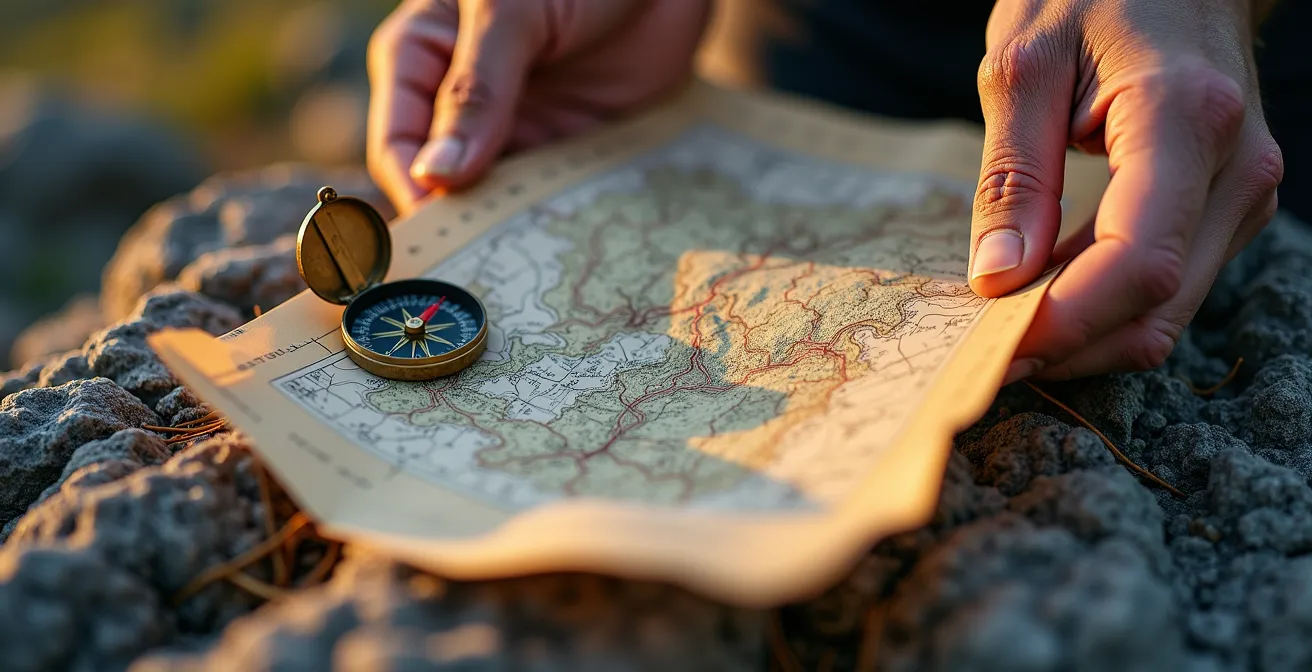
As you can see in this image, topographical literacy is about understanding the relationship between the lines on the paper and the world around you. A dense cluster of lines means a steep cliff—a potential overlook. A gentle spacing of lines indicates a flat bench or meadow. By cross-referencing these map features with your 3D reconnaissance, you can build a short list of high-potential, un-marked locations to investigate in person.
This systematic approach transforms the search from a game of chance into a targeted investigation, dramatically increasing your odds of finding a truly unique and empty place.
Drone or Camera: Which Captures the Scale of the Landscape Better?
The choice between a drone and a traditional camera is a fundamental creative and logistical dilemma for a location scout. Each tool offers a radically different interpretation of the landscape. A drone provides the “God’s eye view,” revealing epic patterns, sweeping scale, and geographic relationships that are impossible to see from the ground. It can show how a river snakes through a valley or how a mountain range unfolds layer by layer. However, this perspective can sometimes feel detached and impersonal.
A traditional camera, held at human eye level, creates a more intimate and relatable connection. It places the viewer *in* the landscape, fostering a sense of presence and personal experience. It excels at capturing the feeling of standing on a cliff edge or being dwarfed by a forest. The decision often comes down to the story you want to tell: the grand, objective overview or the personal, subjective experience. However, there is a critical factor that often makes the decision for you: legality.
Before you even consider the creative merits, a scout must know the rules. The National Park Service confirms that recreational drone use is prohibited in all US National Parks. Attempting to fly a drone in these areas can result in hefty fines and confiscation of your equipment. This single rule makes a traditional camera the only viable option for many of the most iconic landscapes.
This table, based on information from professional sources like the Pilot Institute, breaks down the key considerations:
| Aspect | Drone | Traditional Camera |
|---|---|---|
| Legal Access | Banned in all National Parks, restricted in Wilderness Areas | Allowed everywhere with proper permits |
| Perspective | Bird’s eye view, revealing patterns | Human perspective, creates connection |
| Wildlife Impact | Causes stress and disruption | Minimal when using telephoto |
| Technical Control | Limited by battery life (15-30 min) | Unlimited shooting time |
| Weather Limitations | Cannot fly in wind/rain | Can shoot in most conditions |
For a scout, reliability and access are paramount. While a drone offers a spectacular perspective, the severe restrictions and operational limitations mean that a high-quality traditional camera remains the most essential and versatile tool for landscape work.
The Selfie Mistake at Edge Cliffs That Costs Lives Every Year
The pursuit of a dramatic shot can create a dangerous form of tunnel vision. At cliff edges, the most common and perilous mistake is driven by the limitations of a smartphone camera. To get both themselves and the grand vista in the frame, people creep closer and closer to the unstable edge, often with their back to the drop, focused only on the screen. A professional scout views this behavior with alarm, as their primary responsibility is not just capturing the shot, but ensuring the absolute safety of everyone involved. Risk assessment is a non-negotiable part of the job.
The professional’s secret to capturing a breathtaking cliff-edge shot is counterintuitive: stay back and use a longer lens. A telephoto or portrait lens (typically 85mm or longer) compresses the perspective, making the distant background appear larger and more dramatic in relation to the subject. This allows you to place your subject a safe 15-20 feet away from the edge while making the canyon or mountain range behind them feel immense and immediate. You achieve a more powerful and professional-looking image while eliminating the risk.
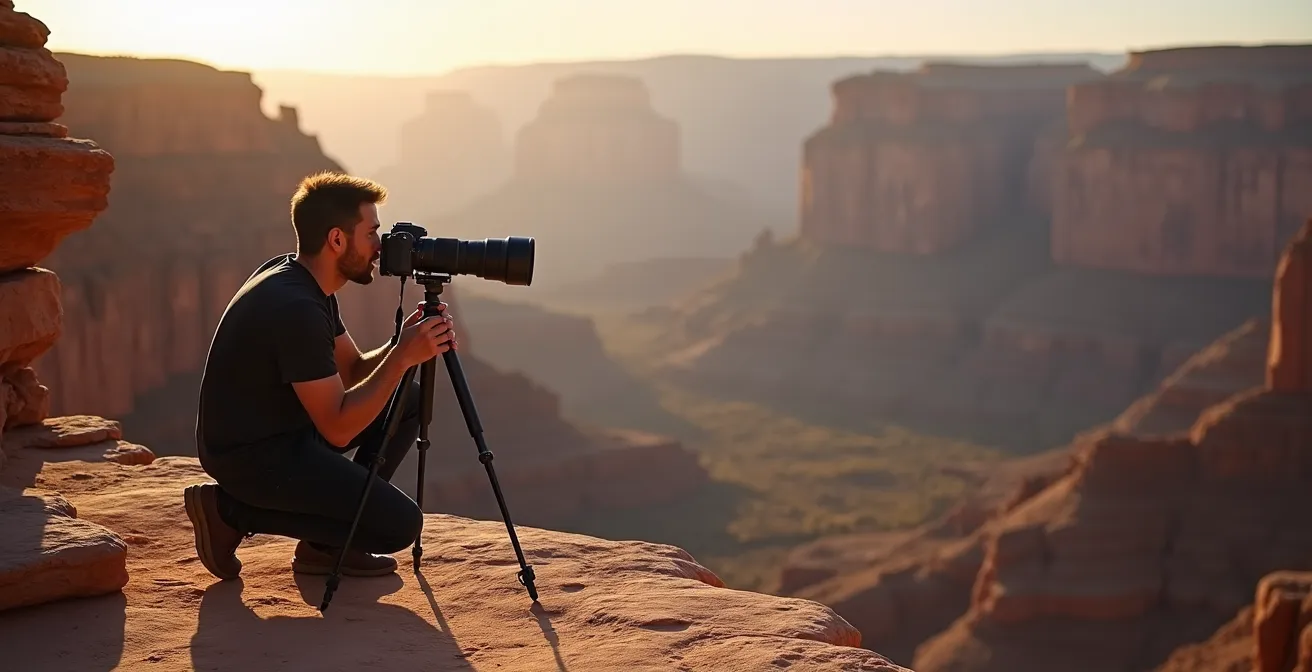
This photographer is demonstrating perfect technique. They are on stable ground, far from the precipice, using a tripod and telephoto lens to compose their shot. Their awareness is on their surroundings, not just the viewfinder. This is the core of safe and professional practice in hazardous environments. To ensure you get the shot without becoming a statistic, adopt these field techniques:
- Use a Telephoto Lens: Stand well back from the edge (at least 15 feet) and use a lens of 85mm or longer to compress the background and make it feel closer.
- Tripod on Stable Ground: Always place your tripod on solid rock or firm, dry soil. Avoid areas that look eroded, have cracks, or are damp.
- Have a Spotter: If you are shooting with someone else, have them act as a spotter to watch your footing and your proximity to the edge while you focus on composing the shot.
- Use the LCD Screen: Compose your shot using the camera’s live view on the back screen instead of looking through the viewfinder. This keeps your peripheral vision open and maintains situational awareness.
- Heed the Wind: Avoid shooting near edges on windy days. A strong, unexpected gust can easily cause a loss of balance.
A location scout would never approve a shot that puts a crew in danger. Adopting this mindset means valuing your life over a “like” and understanding that the best tools are often the ones that allow you to be both creative and safe.
How to Predict Cloud Cover Specifically for Mountain Views?
For a tourist, a “cloudy day” is a disappointment. For a location scout, it’s an opportunity for incredible drama. The goal of atmospheric forecasting is not simply to know if it will be sunny or rainy. It’s about predicting specific, photogenic phenomena: a low-lying sea of clouds filling a valley (a cloud inversion), dramatic sunbeams breaking through stormy skies, or the crystal-clear, deep blue atmosphere that follows a cold front. These conditions transform a good landscape into an unforgettable one.
Standard weather apps are too generic for this level of detail. They might tell you “partly cloudy,” but they won’t tell you the altitude of those clouds. In mountain photography, cloud altitude is everything. Clouds that are above you will obscure the peaks, while clouds that are below you create a magical, otherworldly scene. Predicting this requires a more specialized set of tools and knowledge.
A scout’s weather check is a detailed audit of atmospheric layers. By understanding a few key principles and using the right tools, you can significantly increase your chances of being in the right place at the right time for spectacular conditions.
Your Action Plan: Advanced Weather Audit for Mountain Views
- Check Cloud Layers by Altitude: Use a service like Windy.com and its “Clouds” layer. Don’t just look at the basic forecast; use the slider to view predicted cloud cover at different altitudes (e.g., 2000m, 4000m). Compare this to the elevation of your viewpoint and the surrounding peaks.
- Hunt for Temperature Inversions: A cloud inversion often occurs when cold, moist air is trapped in a valley by a layer of warmer air above. Check METAR (aviation weather reports) from nearby airports for temperature and dew point data. A small gap between the two suggests high humidity, a key ingredient for fog and low clouds.
- Use Specialized Apps: Apps like Clear Outside are designed for astronomers but are invaluable for photographers. They provide a detailed hour-by-hour forecast for low, medium, and high cloud cover, giving you a much clearer picture than a standard forecast.
- Track Orographic Lift: When wind hits a mountain range, it’s forced upward, where it cools and forms clouds. Pay attention to the prevailing wind direction. The windward side of the range will often be cloudy, while the leeward (downwind) side can be surprisingly clear.
- Plan for Post-Frontal Clarity: The clearest, most transparent air often arrives in the 12-24 hours after a strong cold front has passed through. Monitor weather maps for these frontal systems and plan your shoot for the clear, stable high-pressure system that follows.
By moving beyond simple forecasts and learning to read the dynamics of the atmosphere, you stop being a victim of the weather and start using it as a creative partner.
How to Get the “Empty Pool” Photo Without Waking Up at 5 AM?
Scouting isn’t always about wild, natural landscapes. Sometimes the challenge is to find a moment of pristine tranquility in a busy, controlled environment like a resort. The “empty pool” shot is a classic commercial photography problem. While waking up before dawn is one solution, a scout knows that understanding the operational flow of a location can reveal other, more convenient windows of opportunity.
First, consider the macro-timing. Most people travel during predictable peak times. For example, a Wyndham survey reveals that 28% of travelers prefer June and 27% prefer July for their trips. Simply booking your stay during the “shoulder seasons”—like May or September—means the resort will be less crowded to begin with, making your task much easier. Midweek stays (Tuesday to Thursday) are also significantly quieter than weekends.
Once on location, the key is to identify the micro-patterns of guest behavior. Instead of fighting the crowd, you anticipate its movements. Here are several strategies to get that empty shot without the 5 AM alarm:
- The Check-Out Lull: The period between 11 AM and 2 PM is often a golden window. Departing guests have checked out, and arriving guests have yet to settle in. Many people are in transit, at lunch, or away from the property, briefly leaving the pool area quiet.
- Private Event Intel: Politely ask the concierge or event staff if any private events are scheduled that will close the pool area to other guests. This can give you a heads-up for a guaranteed empty window right before or after the event.
- The “Clean-Up” Window: Sometimes the best opportunity is 15 minutes *after* the pool officially closes. Staff are focused on cleaning and resetting for the next day. If you ask politely, they may allow you a few minutes to take photos while the area is clear and the water is still.
By observing these patterns, a busy resort pool transforms from an obstacle into a predictable system. A scout uses this knowledge to find the seams of quiet in an otherwise chaotic schedule.
GPS vs. Local Advice: Why Apps Send You Down Dangerous Roads?
In the world of location scouting, over-reliance on technology can be a costly, and even dangerous, mistake. GPS navigation apps like Google Maps or Waze are programmed with a single objective: find the shortest or fastest route based on algorithms and traffic data. They suffer from critical algorithmic blind spots. They do not know the condition of the road surface, whether a dirt road requires a high-clearance 4×4 vehicle, or if a “shortcut” is prone to flash floods or rockfalls after a storm.
A film scout, responsible for the safe passage of a crew and expensive equipment, can never trust a GPS route implicitly for remote locations. The algorithm’s “optimized” path can lead you to a washed-out bridge, a road that has become impassable, or a gate that is locked for the season. This is where the irreplaceable value of human intelligence comes in. Local advice—from park rangers, shopkeepers in the nearest town, or ranchers—is based on lived experience, not code.
The principle of cross-referencing digital data with human experience is a cornerstone of safe travel planning. This distinction is crucial when navigating unfamiliar territory, as highlighted by travel experts. This comparative framework, inspired by insights from seasoned travelers like those at Rick Steves’ Europe, illustrates the different strengths of each resource:
| Factor | GPS Apps | Local Advice |
|---|---|---|
| Route Optimization | Shortest/fastest path algorithm | Considers road conditions and seasons |
| Real-time Updates | Traffic only, not road surface | Current washouts, closures, hazards |
| Vehicle Suitability | Assumes all vehicles equal | Specific to your car type |
| Safety Factors | Not evaluated | Personal experience included |
| Verification Method | Cross-check with satellite imagery | Ask multiple sources for consensus |
A professional scout’s process involves using GPS and satellite imagery to identify potential routes, then visiting the nearest town to verify those routes with multiple local sources before committing. This simple two-step verification process mitigates nearly all of the risk associated with algorithmic navigation and is an essential discipline for any serious explorer.
Key Takeaways
- Think like a scout: Prioritize the quality of light and composition over simply avoiding crowds.
- Use visual reconnaissance: Employ digital tools like Google Earth 3D and topographical maps to find hidden viewpoints before you leave home.
- Safety is paramount: Use proper techniques like telephoto lenses and safe positioning at cliff edges, and always verify digital routes with local human intelligence.
How to Prepare Your Body for High-Altitude Excursions safely?
You can do all the digital scouting, light mapping, and weather forecasting in the world, but finding the perfect, empty viewpoint is worthless if your own body isn’t prepared for the environment. High-altitude locations, often home to the most dramatic landscapes, place unique physiological stress on your system. A location scout knows that the most important piece of equipment is a healthy and acclimatized body. Arriving unprepared can lead to altitude sickness, which at best ruins your trip and at worst becomes a serious medical emergency.
Preparation for a high-altitude excursion isn’t something that starts when you arrive; it begins weeks in advance. Proper acclimatization is a systematic process of allowing your body to adapt to lower oxygen levels. Rushing this process is the single biggest mistake travelers make. A professional leaves nothing to chance and follows a strict protocol to ensure they are physically ready for the demands of the location.
To ensure you arrive ready to explore safely and feel your best, adopt this pre-trip altitude preparation protocol:
- Cardio Training (6 weeks prior): Begin a consistent cardiovascular training regimen. Activities like running, cycling, or swimming improve your body’s efficiency at using oxygen.
- Practice “Climb High, Sleep Low”: If you live near any elevation, make it a habit to do day hikes to higher altitudes and return to a lower elevation to sleep. This is the gold standard for acclimatization.
- Dietary Shift (3 days prior): Increase your intake of complex carbohydrates. Your body uses oxygen more efficiently when metabolizing carbs compared to fats and proteins.
- Aggressive Hydration (48 hours prior): Start drinking 3-4 liters of water per day. Proper hydration is one of the most effective ways to help your body adapt and prevent altitude sickness symptoms.
- Consult a Physician about Medication: Talk to your doctor about a prescription for acetazolamide (Diamox). It can significantly help the acclimatization process when taken before and during your ascent.
- Plan an Easy First Two Days: Schedule your first 48 hours at altitude with minimal physical exertion. Allow your body time to adjust before undertaking any strenuous hikes.
By treating your physical conditioning with the same seriousness as your photographic planning, you ensure that when you finally reach that perfect, secluded viewpoint, you have the strength and clarity of mind to truly appreciate it and capture its beauty.